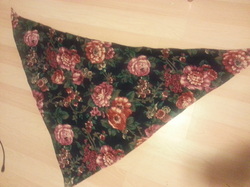
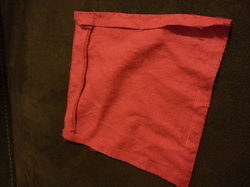
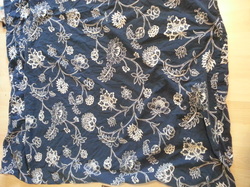
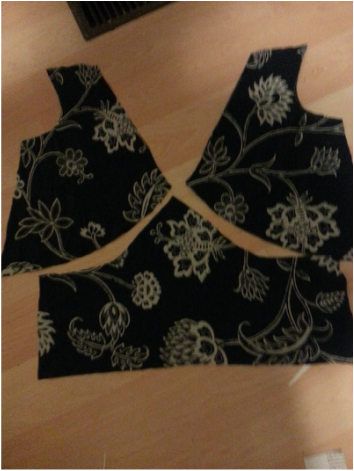
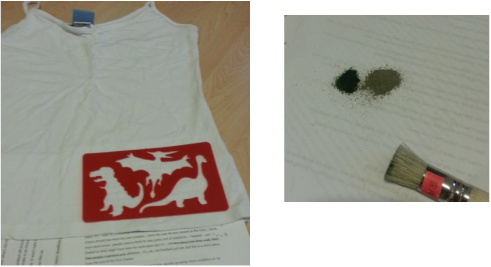
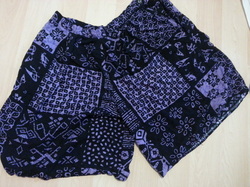
Started with this pretty floral kerchief and some scrap ribbon. I was just never gonna use it as is!
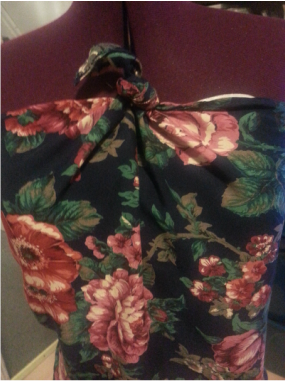
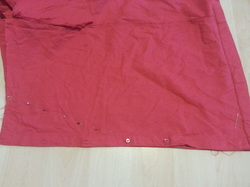
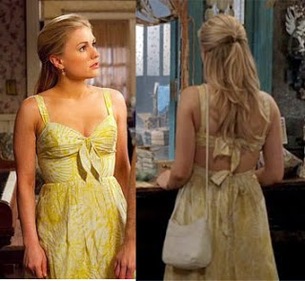
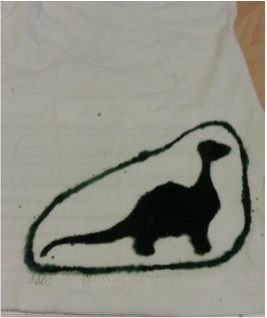
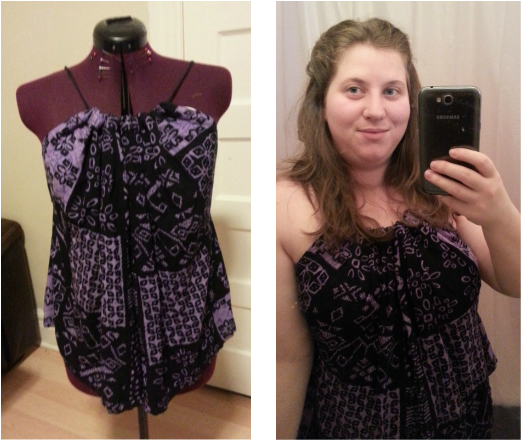
I sewed the two points together in the back and then tied the third point at the top in front to create a ruched effect.
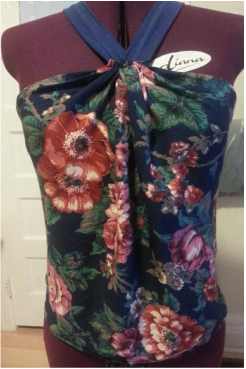
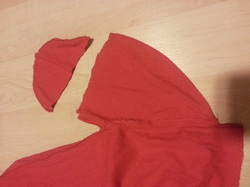
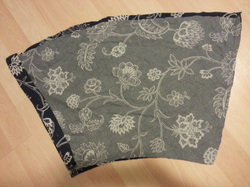
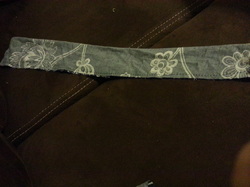
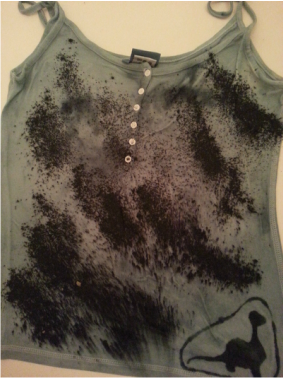
I sewed up the ruching and cut off the excess, then added straps.
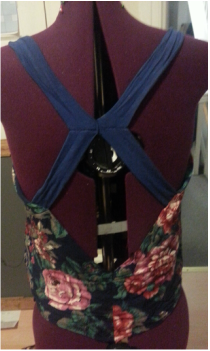
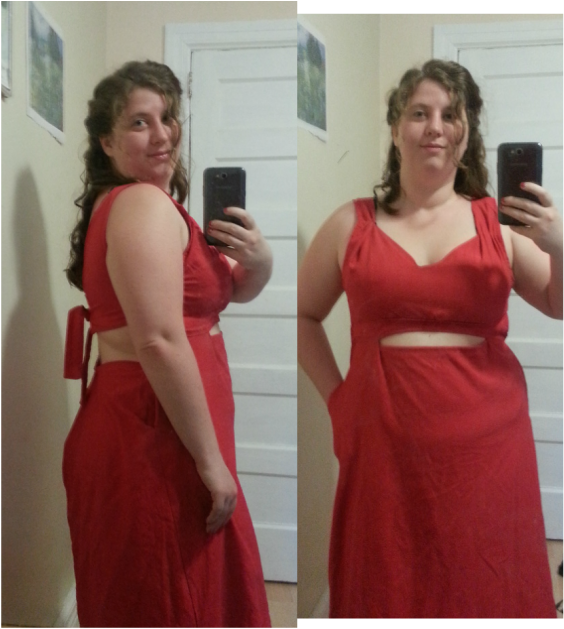
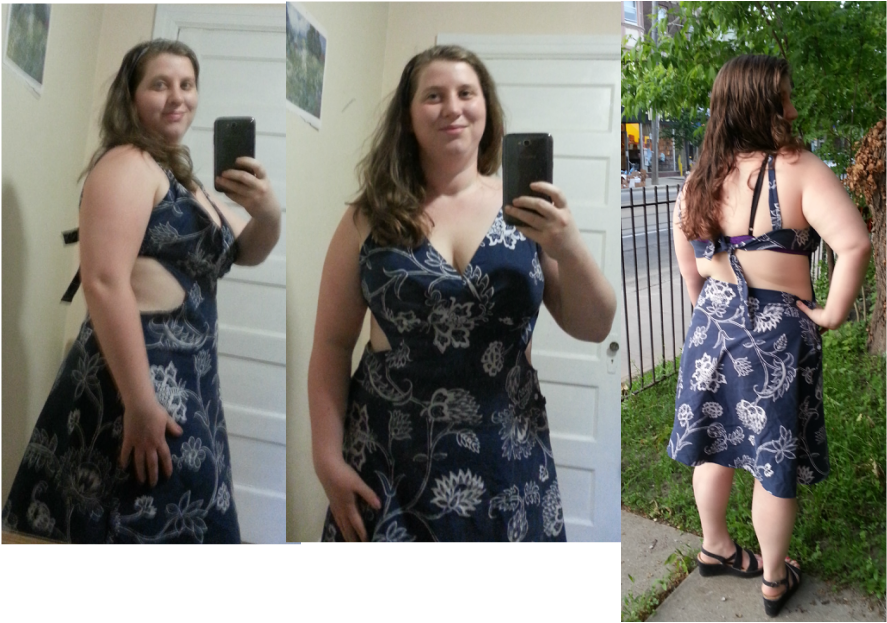
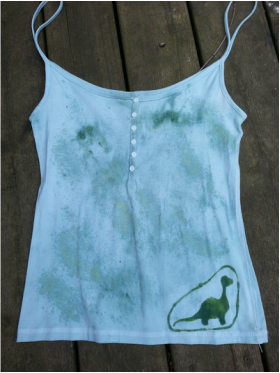
...And the back :)
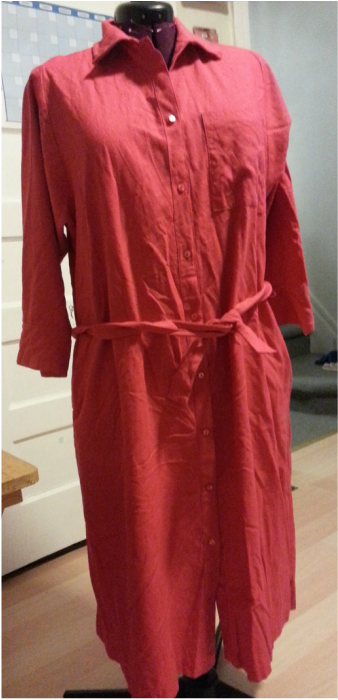
Whaddya guys think?
Whaddya guys think?


 RSS Feed
