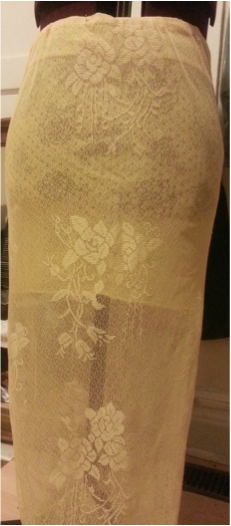
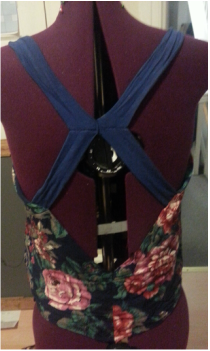
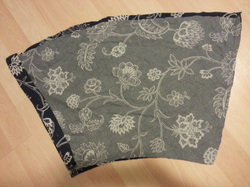
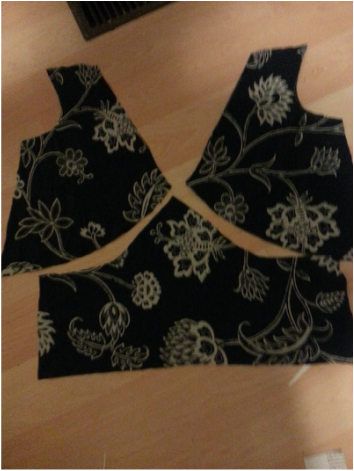
What do you guys think of this skirt?
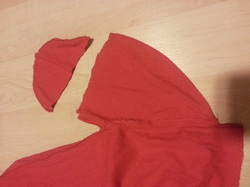
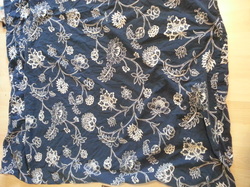
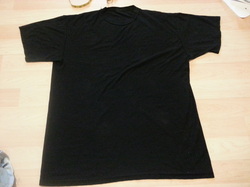
The lining is made from an old t-shirt, and the lace overlay was from a window curtain.
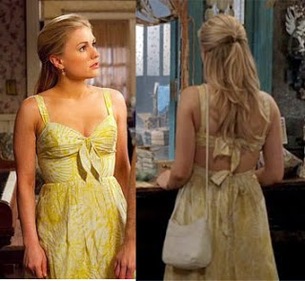
I love the yellow roses!
The lining is made from an old t-shirt, and the lace overlay was from a window curtain.
I love the yellow roses!


 RSS Feed
